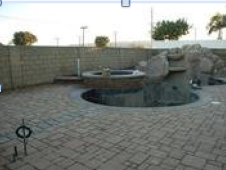
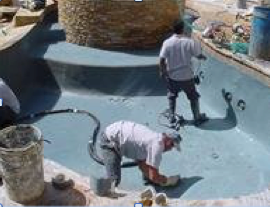
If you’re thinking about building a pool for your backyard, it helps to know all of the steps involved in the process. And it is a process that takes time, which is why we encourage you to contact us now so that you can be in your pool by the time swimming season arrives. Here’s a simple overview that’ll give you a little better idea of what to expect.
STEP 1 PROJECT DESIGN AND PROPOSAL
The first step in the construction process begins with an initial meeting between you and Liquid Asset Pools. During this meeting, we’ll find out what you’re looking for in a pool as well as discuss your budget range.
We’ll discuss what style and shape you’re looking for with your pool as well as cover the landscape layout, property line setbacks, decks and any other features.
Once the basic shape, style and size of your pool is determined, we’ll want to know your vision for what will be going on outside of your pool. Decking, waterfalls, pool slides, hot tubs, cabanas, pergolas, rock displays – there are so many ways to turn your backyard into an outdoor oasis – now is a great time to consider the possibilities. Again, knowing what you’re looking for will be a great help in developing a solution ideally suited to your needs.
We’ll then take a detailed survey of your proposed pool area to include home and lot dimensions, positioning, building setbacks, location of utilities, and accessibility to the construction site. That’s when we get to work, developing a plan and proposed construction cost for you to review.
STEP 2 PERMITS AND APPROVALS
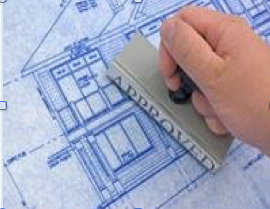
After getting agreement on your overall plans, it’s time to apply for the proper permits for the construction of the pool and decking. We’ll help identify all the permits you’ll need to obtain and make sure you have what you need to apply. The permit process varies depending on where you live and what you plan on building. Having someone who knows what’s involved can make the entire permit process go a lot smoother than trying to handle it all on your own including helping you arrange all inspections.
STEP 3 POOL LAYOUT
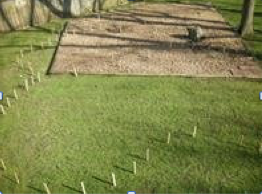
Once your plans have been approved and all necessary permits have been obtained, the construction process may begin. We’ll go over all the construction stages with you and begin by setting the pool elevation. Next, we’ll set the form boards to ensure the pool is in the exact location required.
STEP 4 EXCAVATION
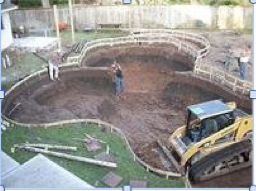
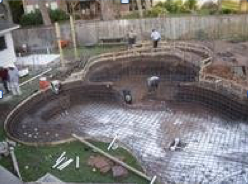
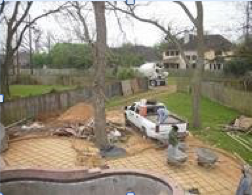
After the forms are set, the excavation of the pool begins and your backyard officially turns into a construction site – meaning we’ll need to create access to your backyard for some heavy-duty equipment as we begin defining your pool walls and excavating your new pool.
STEP 5 STRUCTURAL STEEL
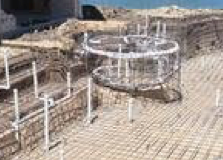
When the pool shell has been built, we reinforce it with steel rebar, placed horizontally and vertically. The horizontal and vertical bars are placed 8″ on center to a depth of five feet. If the depth of the pool exceeds five feet, the horizontal bars are placed at 6″ on center.
STEP 6 STUB OUT
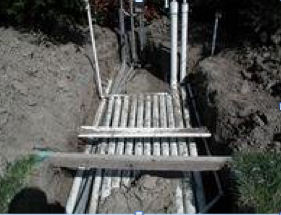
Rough plumbing, or “stub out” is done immediately following steel installation. This entails the installation of main drains, skimmers, light niches, return line “stubs” and pre-plumbing of raised spas.
STEP 7 POOL FLOOR AND GUNITE APPLICATION
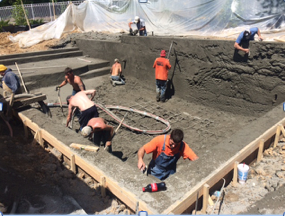
This is when we spray the pool floor and walls with our concrete gunite application with a compressive strength of 4000 psi, and a minimum thickness of six inches. The walls of the pool consist of a mixture of sand and cement (gunite) that is applied through a hose with highly pressurized air to achieve a compressive strength of 4000 psi.
STEP 8 TILE AND COPING
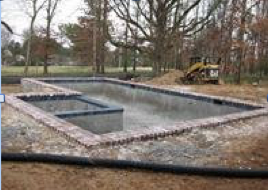
After completion of the gunite phase, we begin applying a decorative tile for the pool which you will have pre-selected from our extensive range of tiles. This is where your pool really begins to look like your pool!
STEP 9 PLUMBING
The plumbing for each pool is designed specifically to give it the best circulation and filtration for crystal clear water and ease of maintenance. We perform hydraulic calculations to ensure that all equipment and piping are of the correct size to combine water clarity and energy conservation.
STEP 10 FILTRATION AND PUMPS
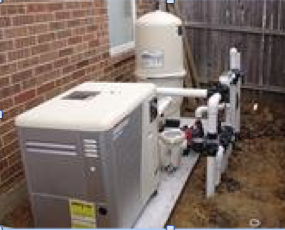
Next, it’s time to set up all the filtration equipment for your pool, including water feature pumps and other optional equipment.
STEP 11 ELECTRICAL AND GAS
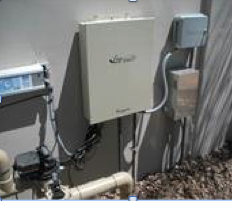
Hooking up electrical conduits for pool lights and for pool equipment power are next on the list. A breaker box at the location of your pool equipment will be installed and ready for the equipment to be set. At this time, we’ll also run gas lines to the pool heater or heaters to the equipment location. We’ll work with a licensed electrician/utility specialist to assure that all is done to code and is working properly.
STEP 12 DECK LAYOUT AND POUR
Now that your pool is approaching the finishing stages, we turn our attention to the pool deck. Typically, the deck at the pool edge is shaped using a rounded cantilever foam form for comfort and safety. Pool coping such as brick and stone are also available to complement the other materials used on the job. The deck is a minimum of four inches thick and reinforced with steel rebar approximately 18” on center. In most cases, any stone or brick work should be completed before the decking is poured.
STEP 13 SITE CLEAN UP
At this point, the project is nearing completion. We will now remove all extraneous construction materials and waste from the construction site and prepare the pool interior to be finished.
STEP 14 POOL FINISH
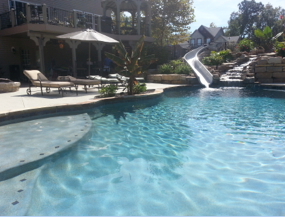
The pool interior is coated with your choice of materials, from a standard white finish, or one of the many Pebble Tec finishes, or one of the many Diamond-Brite brand coatings. Different finishes render different effects and moods upon the pool water and therefore the overall appearance of your backyard area. When the coating is finished, we begin filling the pool with water. This should be the final stage of construction.
STEP 15 POOL START UP AND INSTRUCTION
Once full, we’ll arrange for a service technician to come out to your home to check the installation and start all pool and/or spa equipment. When the equipment has been started up and the pool is fully operational, we’ll arrange a time to come to your home and show you maintenance operations. This includes everything you’ll need to know about routine maintenance on the pool and some troubleshooting tips. If you do have questions or require technical support, we’re always just a phone call away.
STEP 16 SWIM!
It was a long process. But your reward is now ready to go. Dive in and have fun!
Now in our 14th year, Liquid Assets Pools specializes in designing and constructing gunite concrete pools for its customers in central and eastern Missouri, Lake of the Ozarks and southern Illinois.

