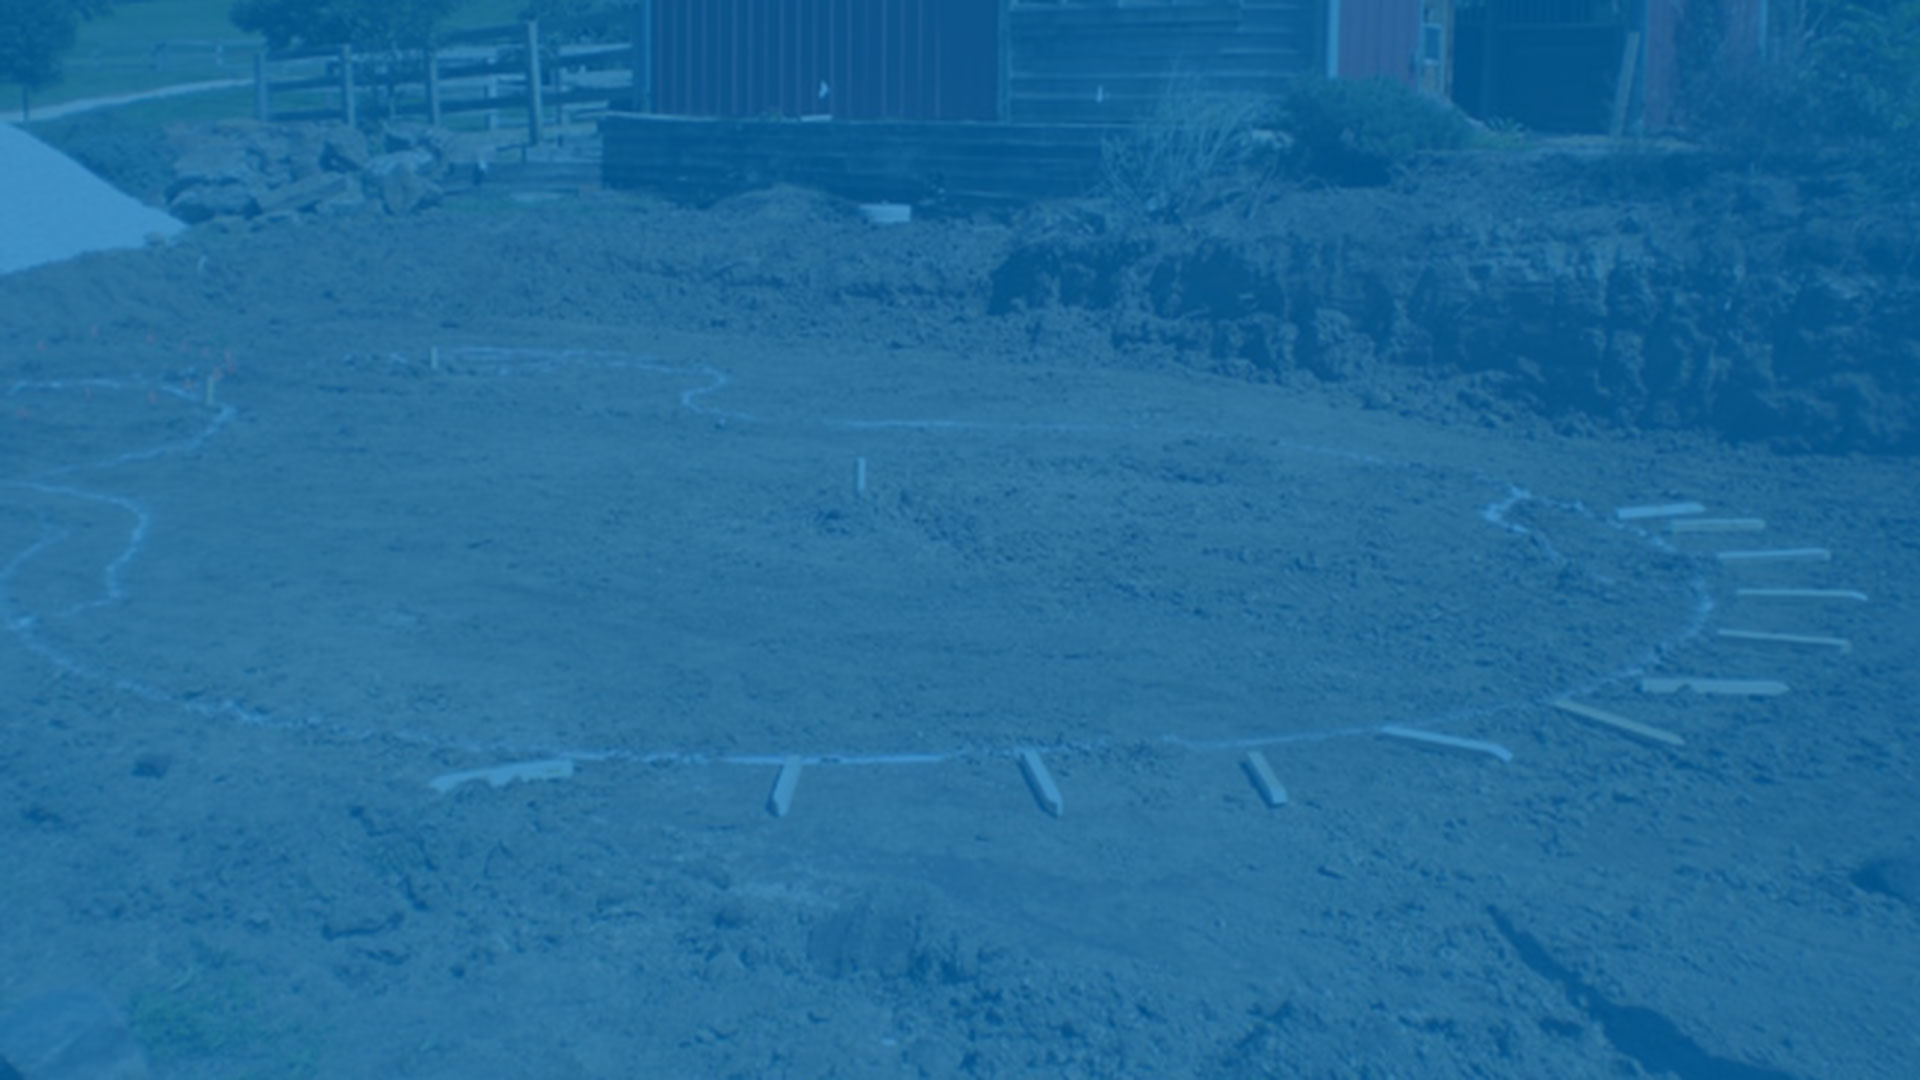
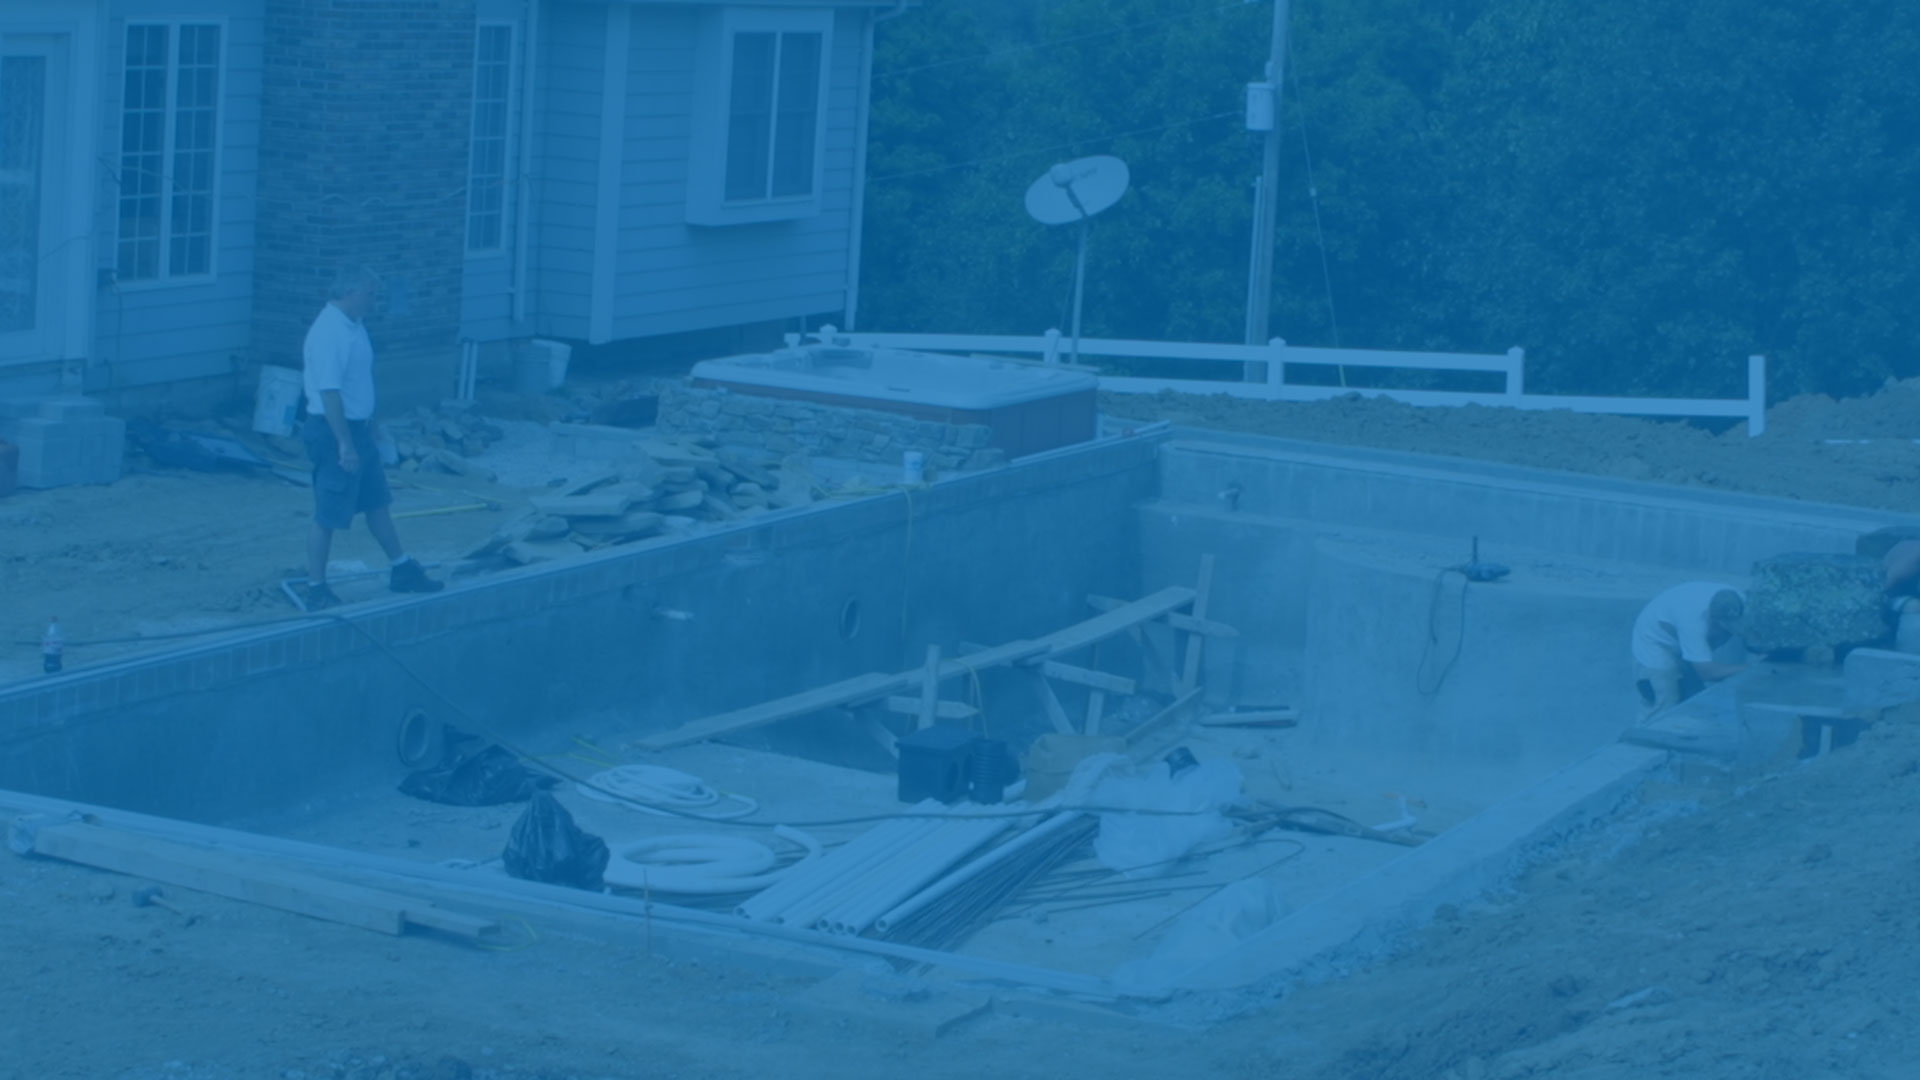
Prior to excavation, we will stake out your new pool or spa. The layout is based on your custom design, and upon your approval, we are ready to dig it.
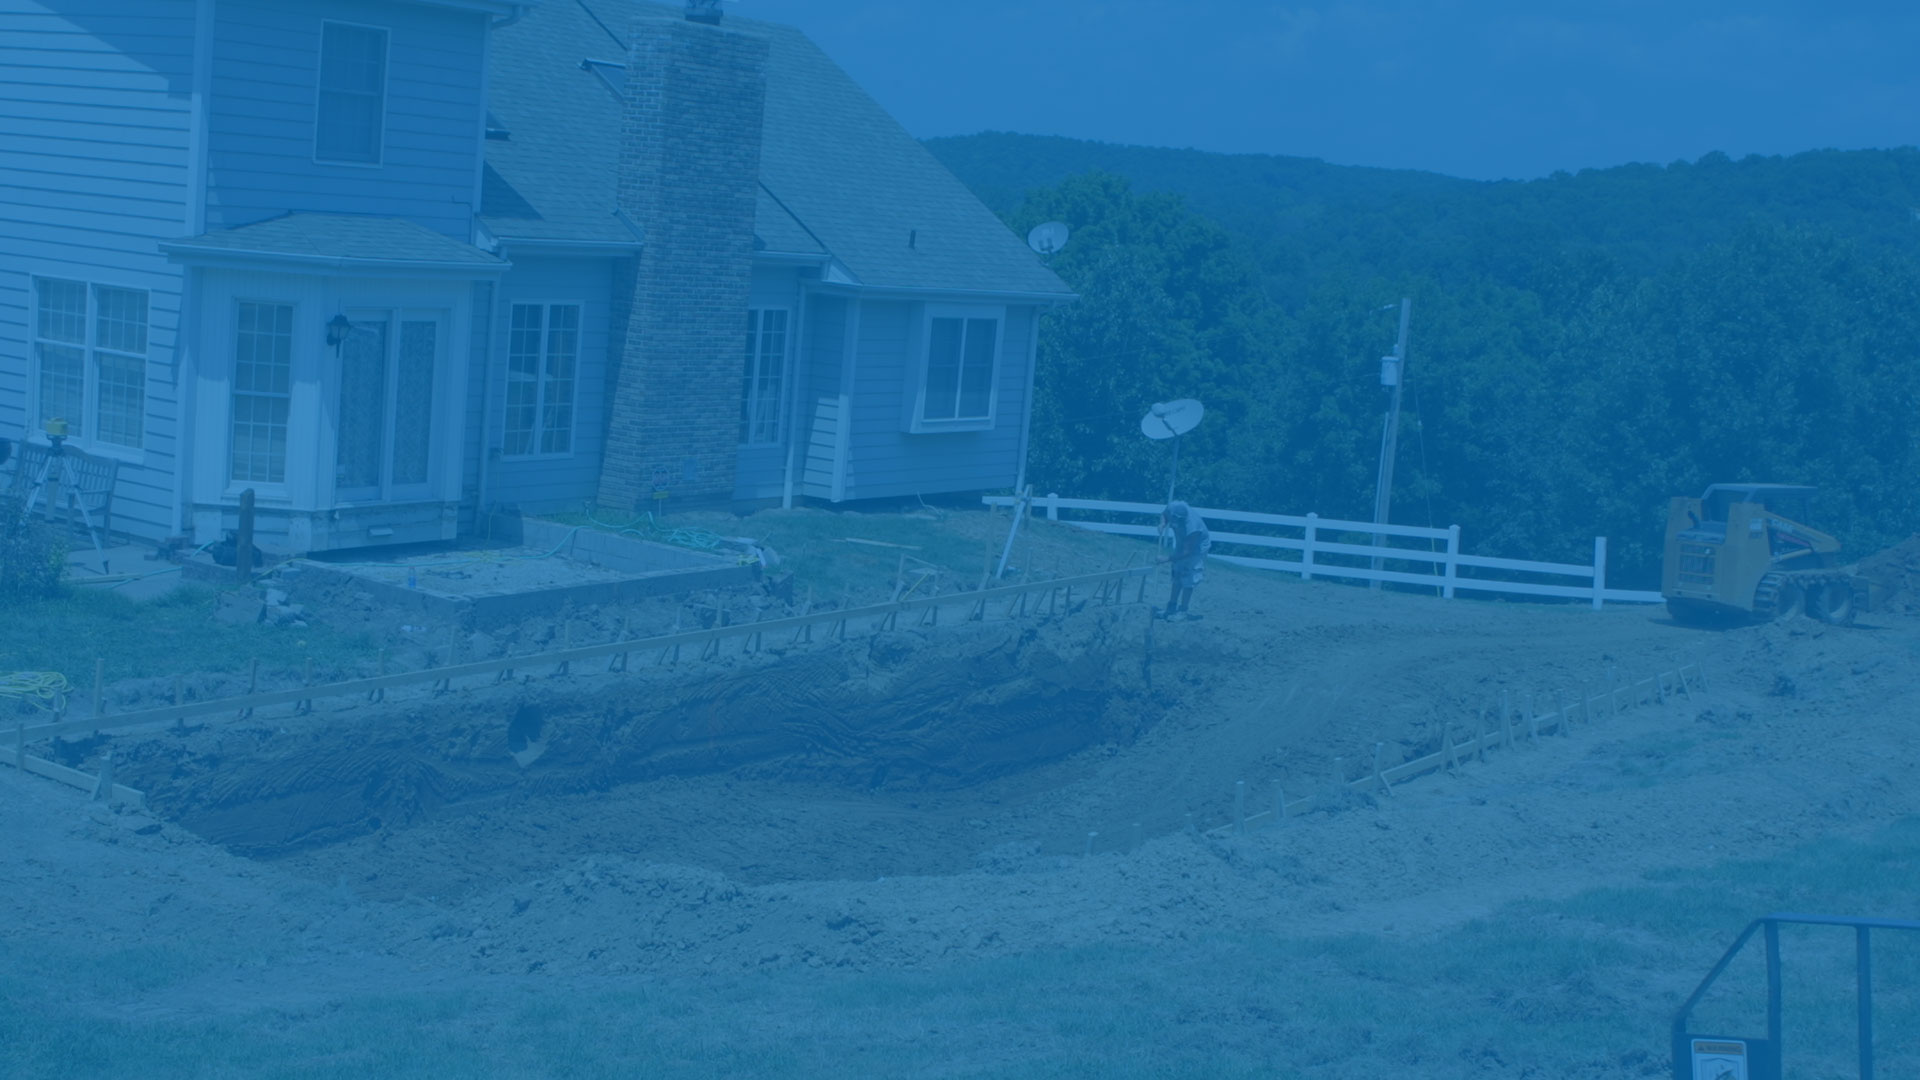
Here’s where we roll in the heavy-duty equipment to dig a big hole. Prior to that, we’ll need to create an access route to the construction area. In most cases, it will take about one working day to complete the excavation of your pool and remove the soil from your yard.
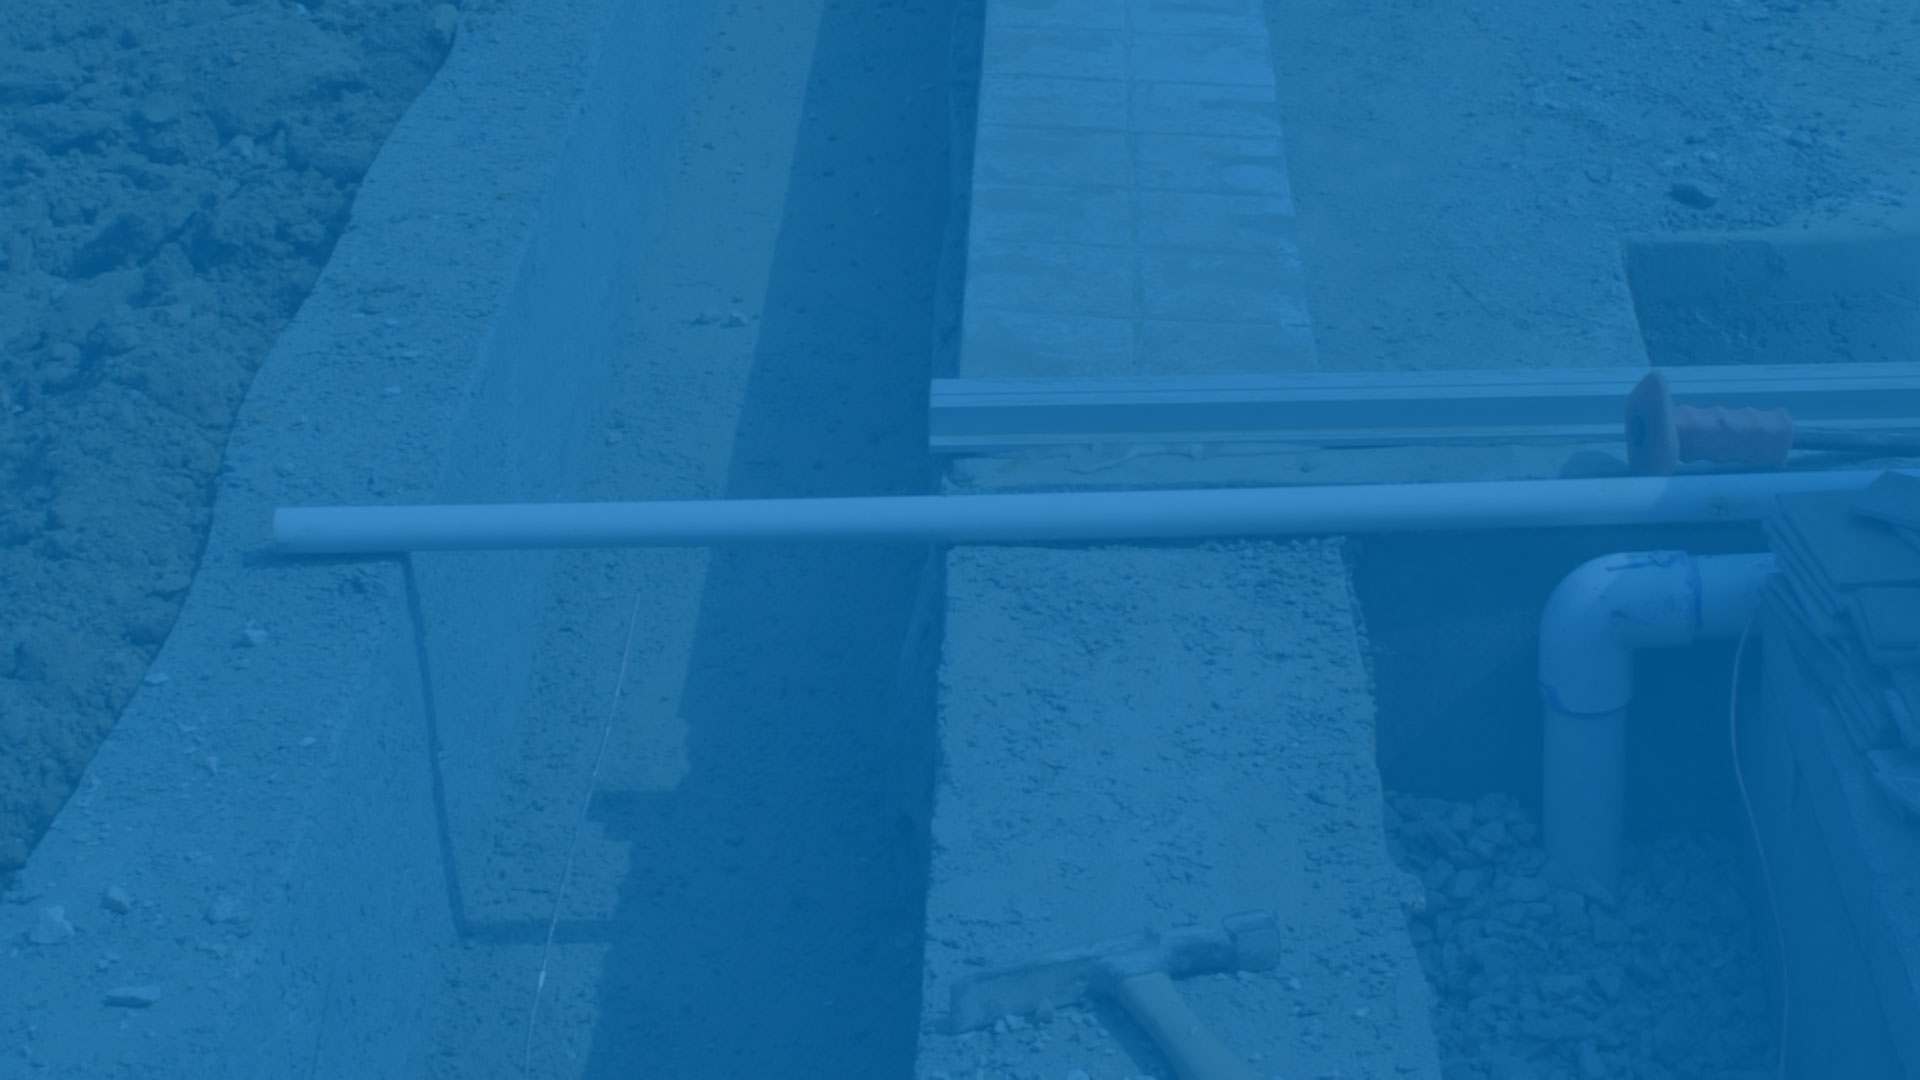
Our plumbers will install state-of-the-art equipment to efficiently clean and purify your pool water. Based on your geographical location, this step may be performed before or after the shell is formed.
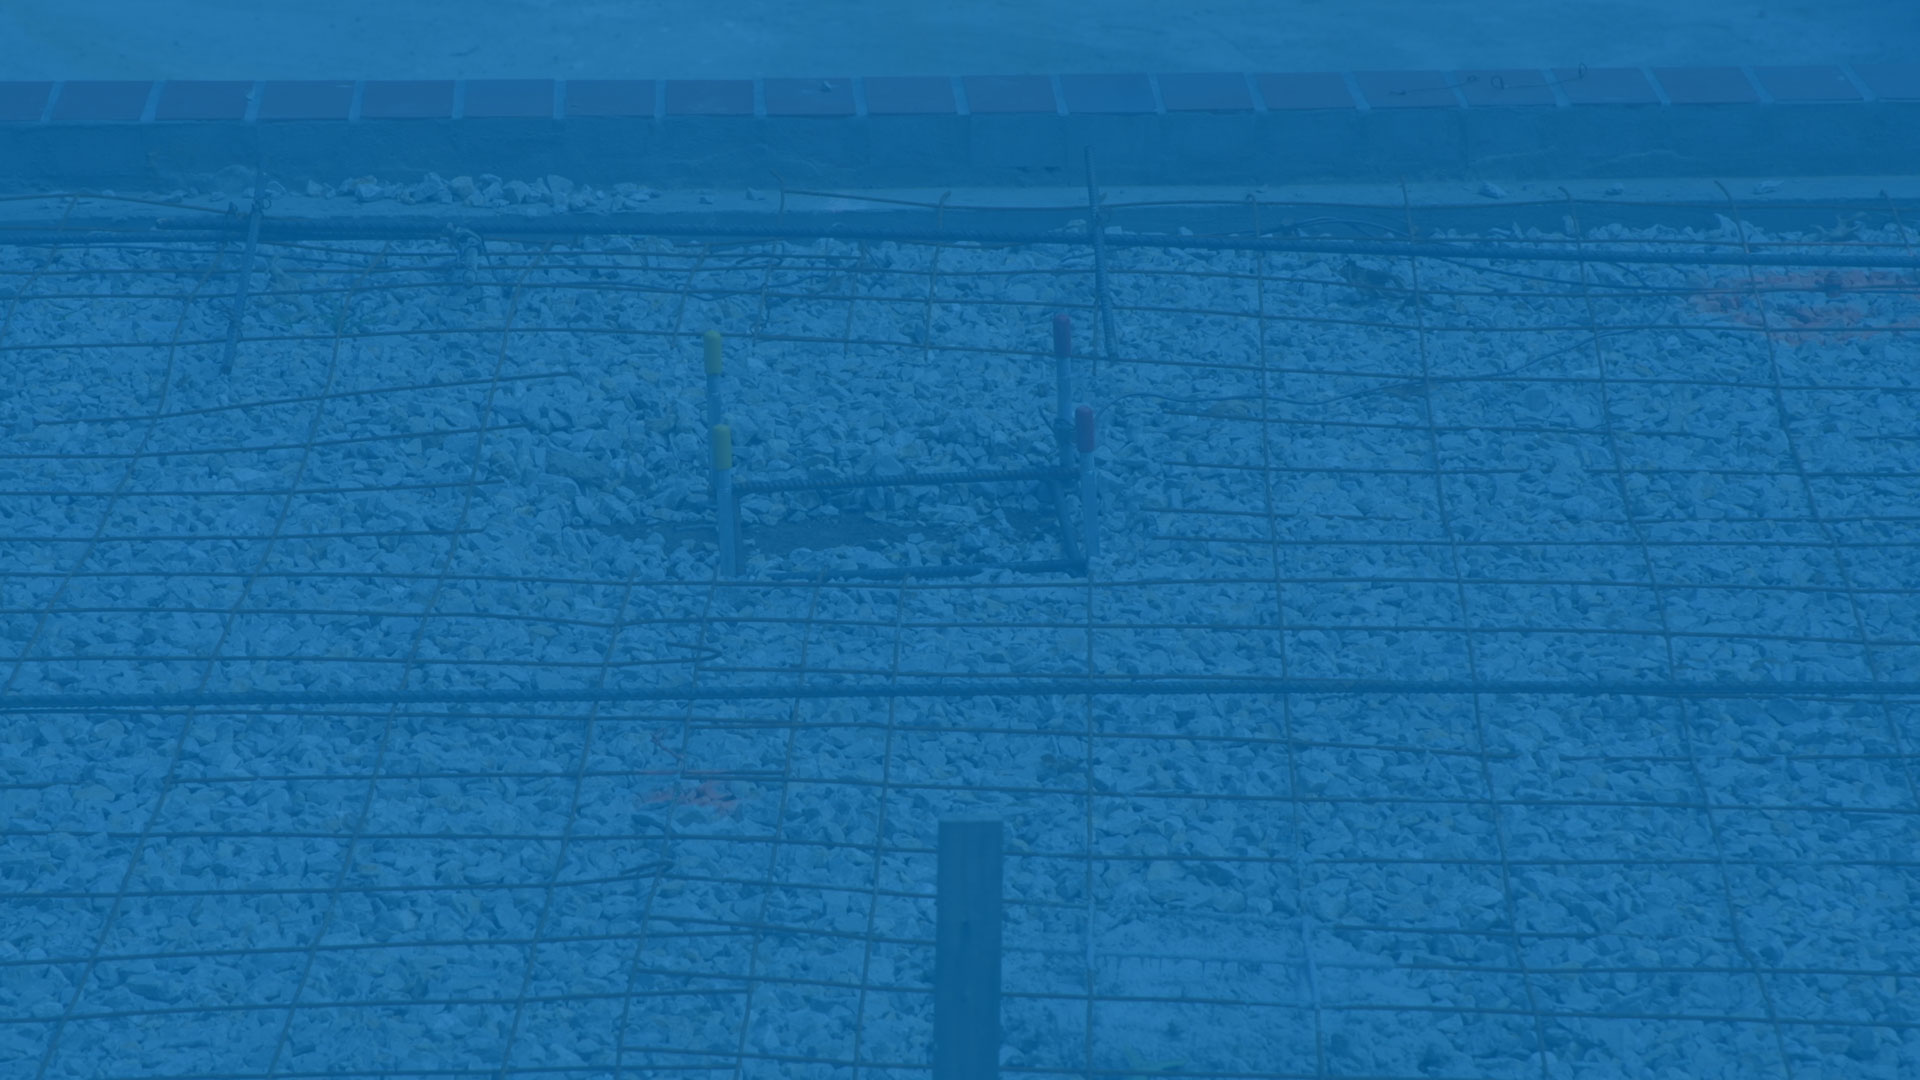
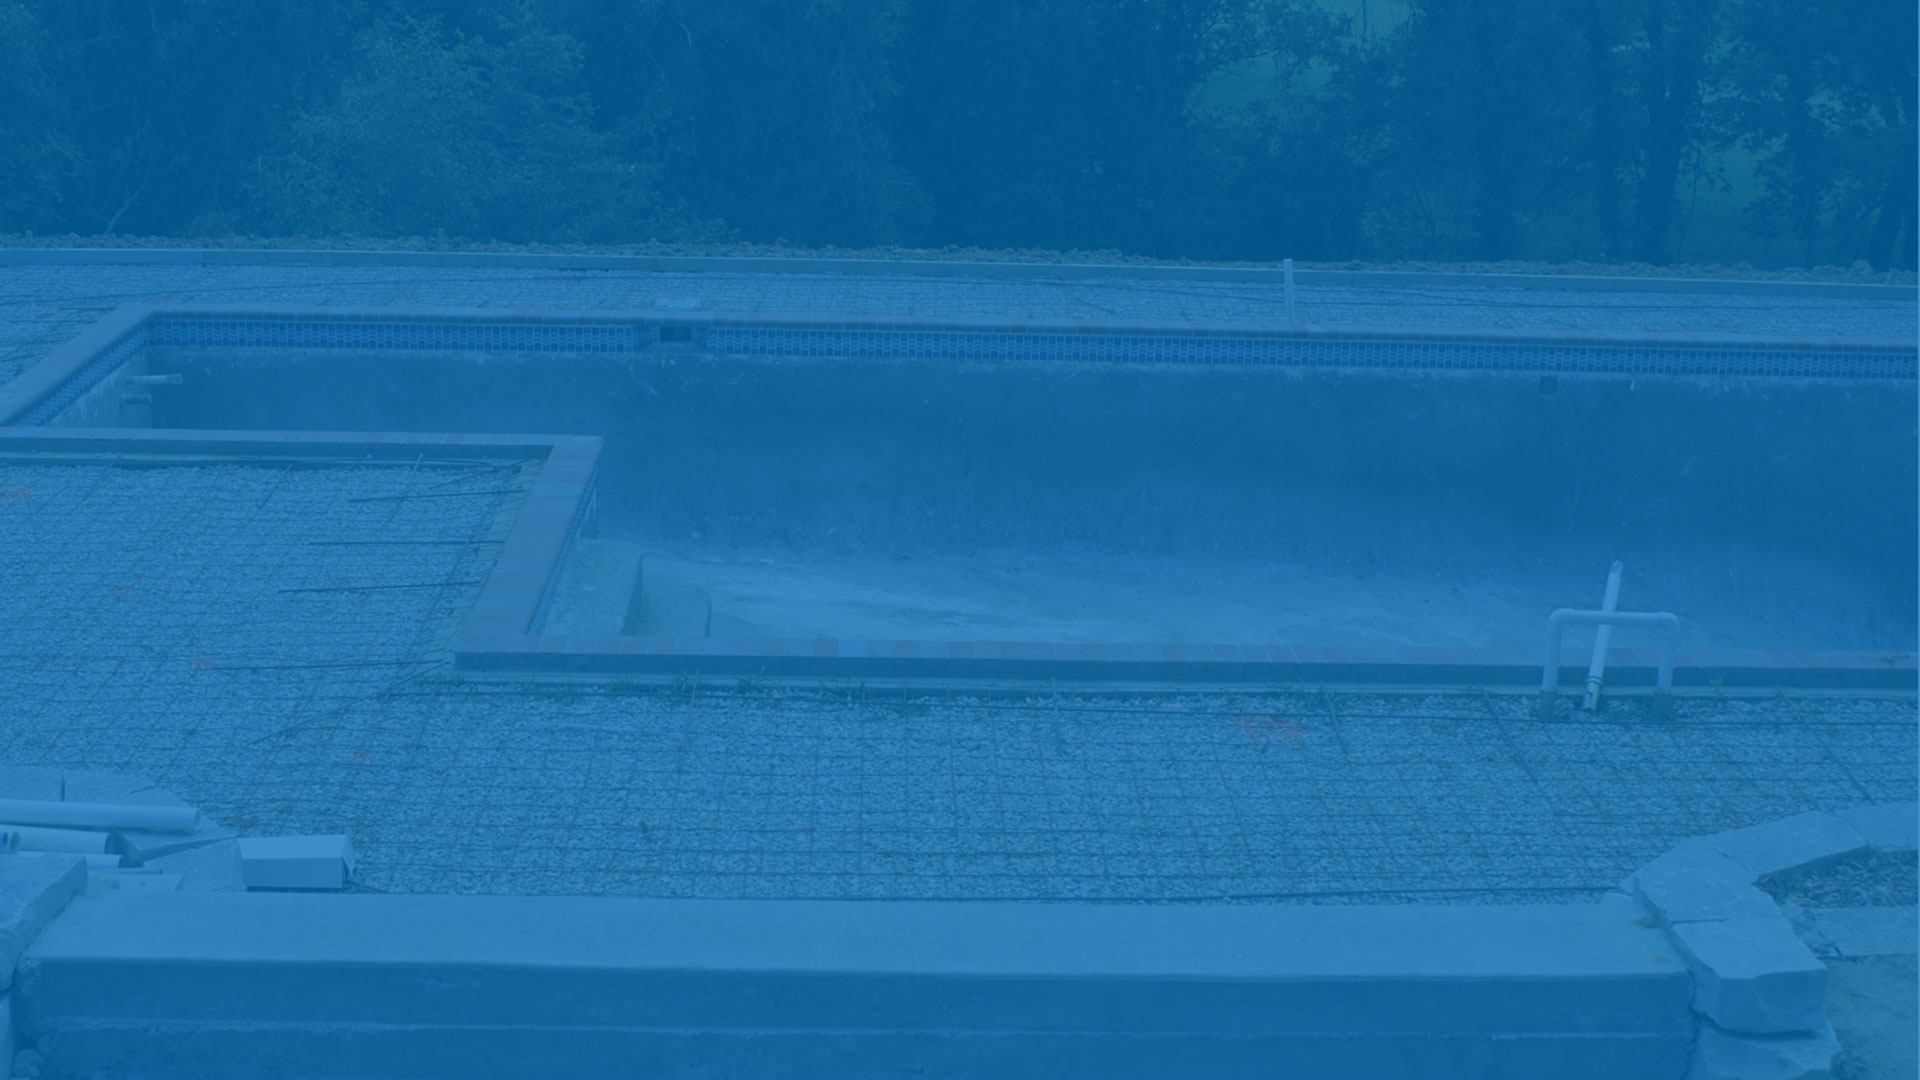
Steel reinforcing rods are placed inside the excavation, along the bottom, up the sides, into the bond beam, and around the skimmers. Firmly wired together, these rods add to the strength and long life of your pool shell.
At varying stages of construction, detailed inspections are performed by your project manager. In addition to these inspections, local building authorities will also require inspections. We will handle all inspections and contact with the local authorities. All construction is guaranteed to meet or exceed every city and county code requirement.
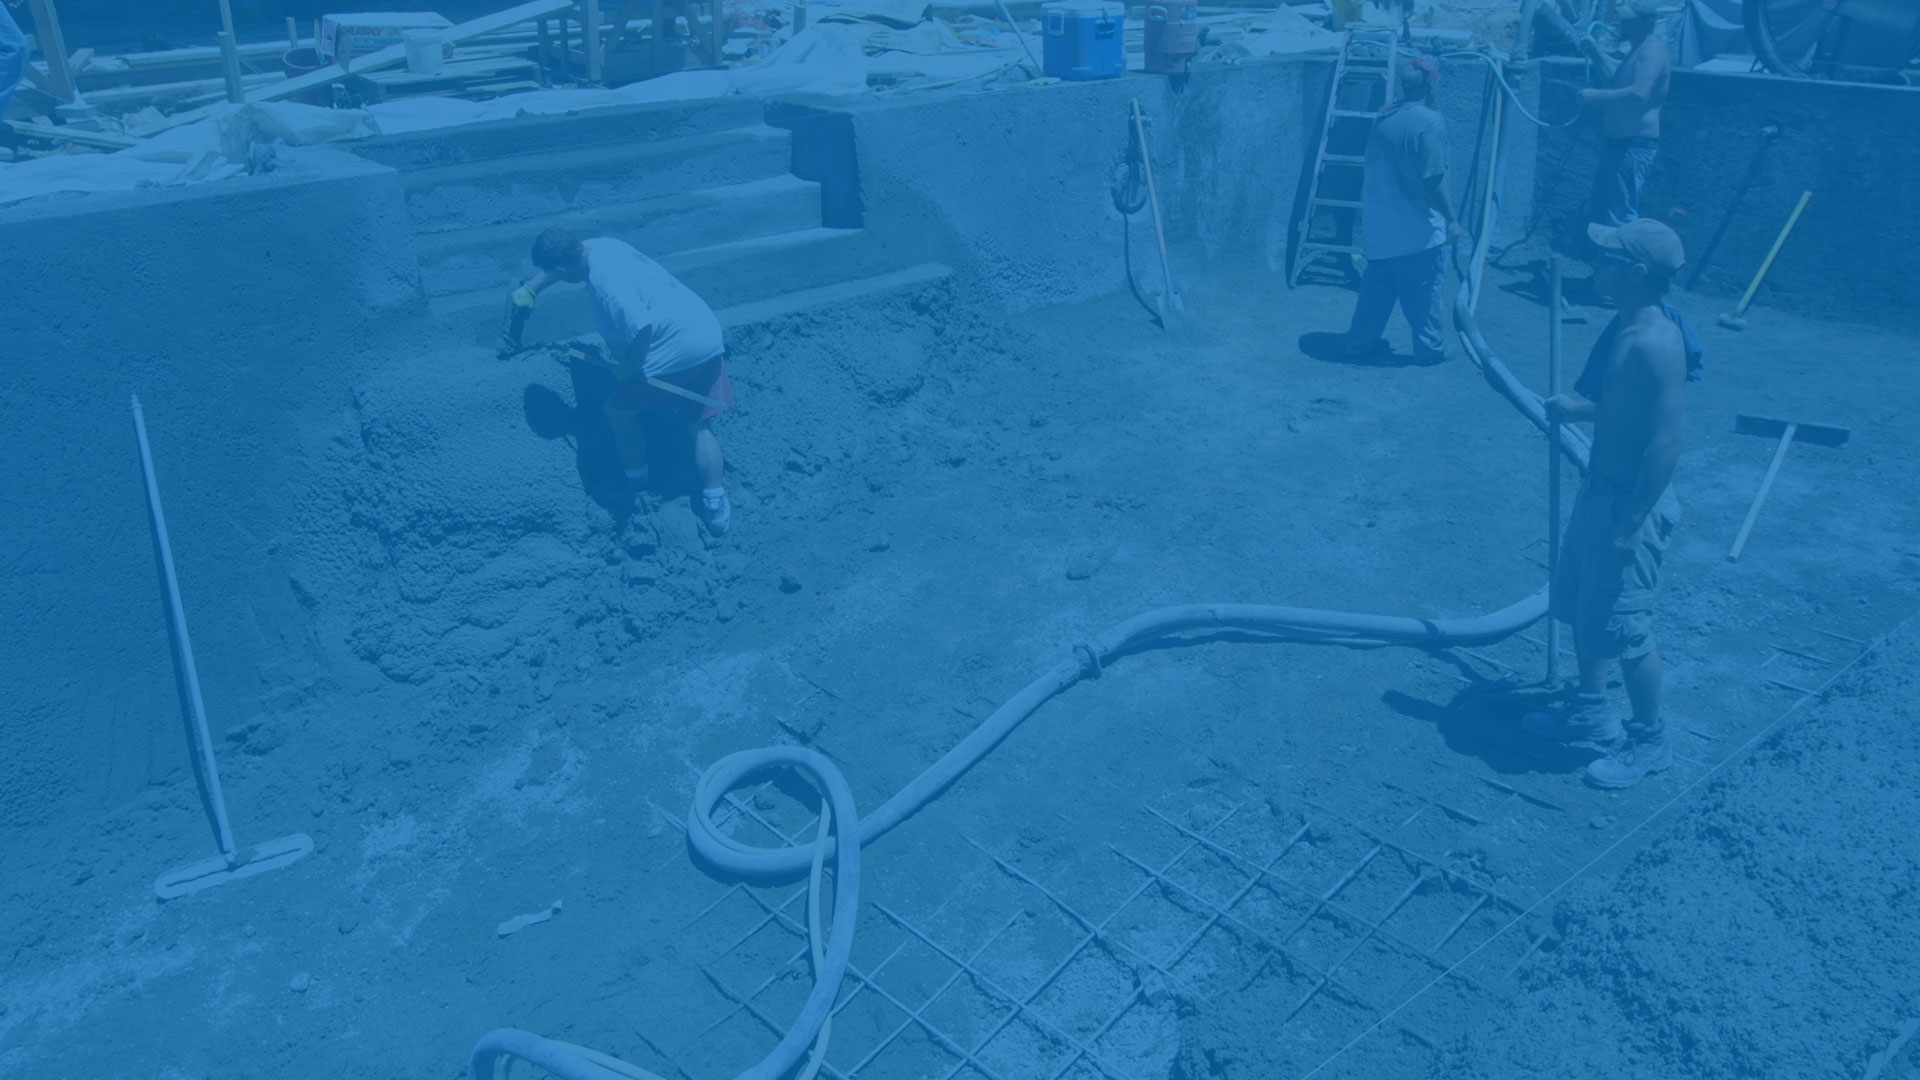
A concrete mixture is pneumatically applied under great pressure to bond tightly around the steel reinforcing rods. This results in a reinforced steel and concrete pool of superior strength.
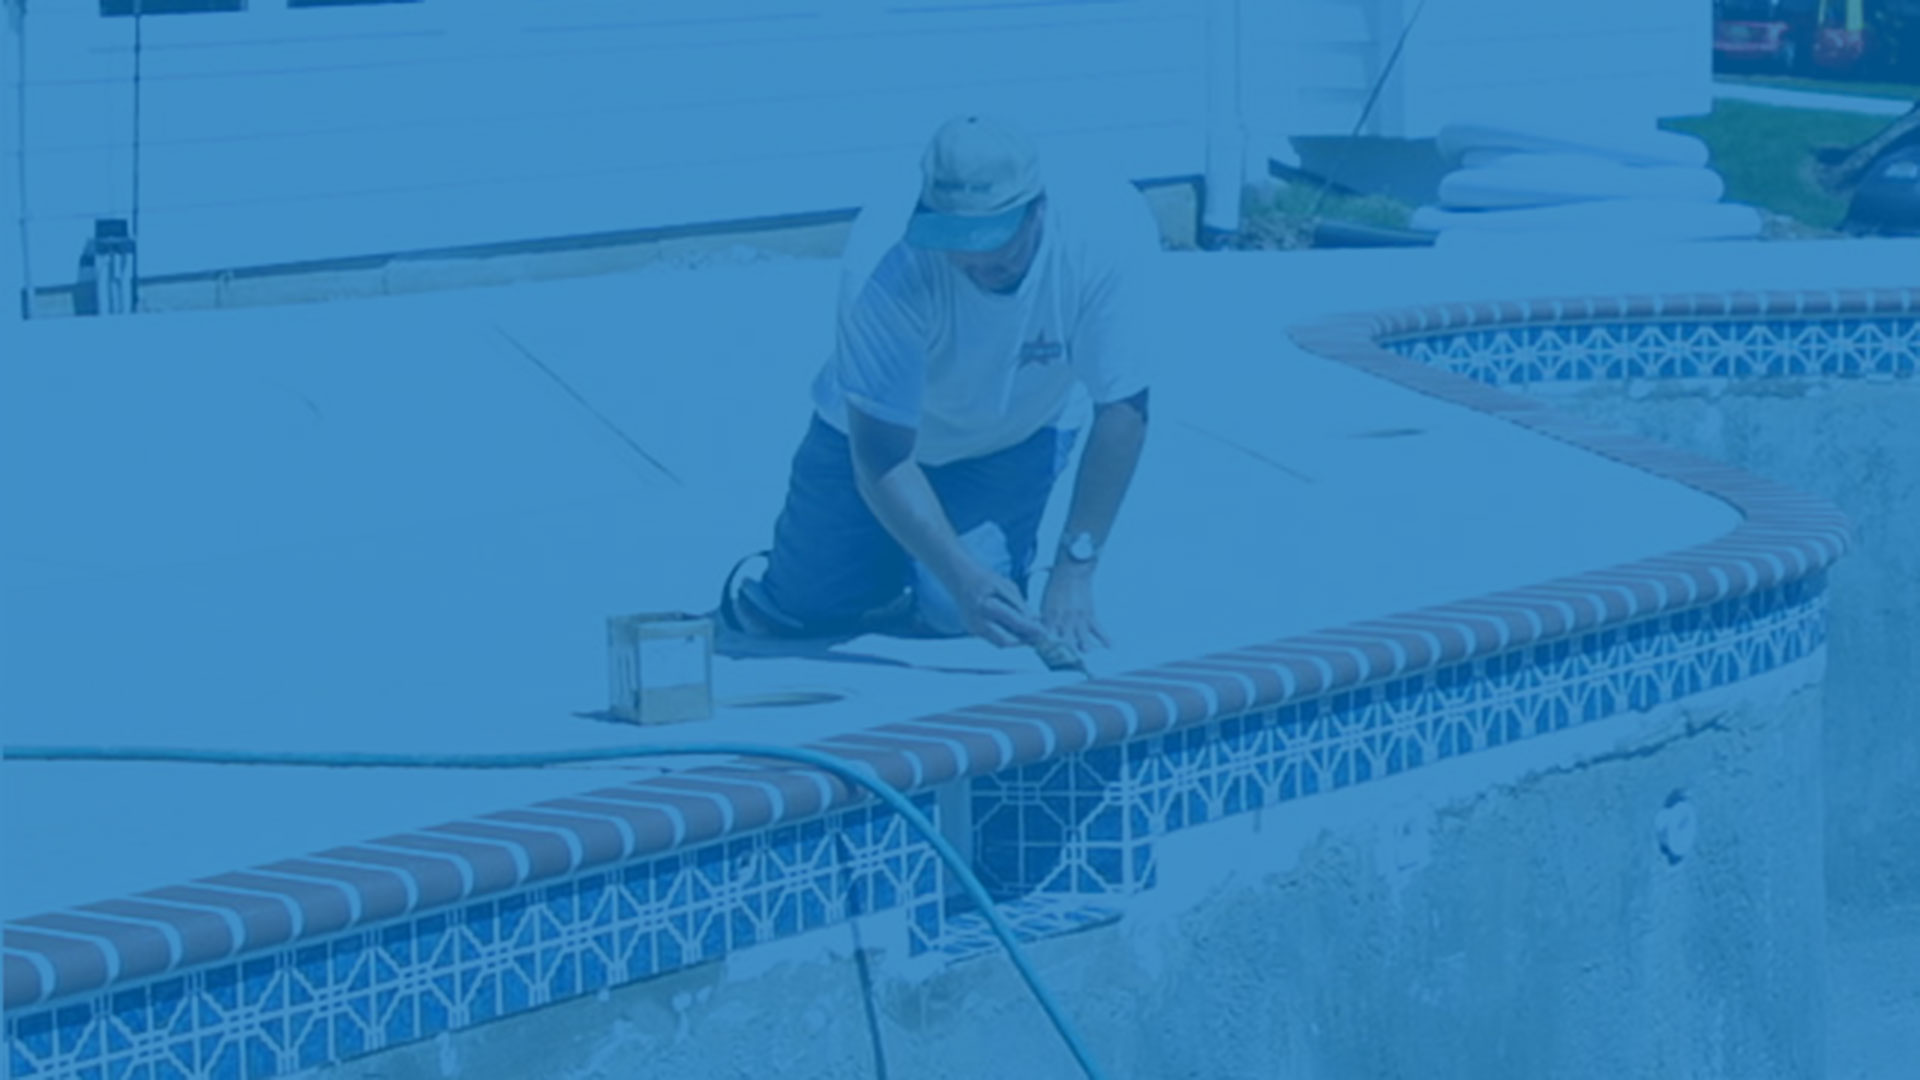
Our craftsmen install the “coping” or the “lip” of your pool – around the pool’s perimeter. Some options are safety-grip brick, stone, or white pre-cast concrete. Also, in some pools, cantilevered decks that extend right to the pool’s edge are used instead of coping.
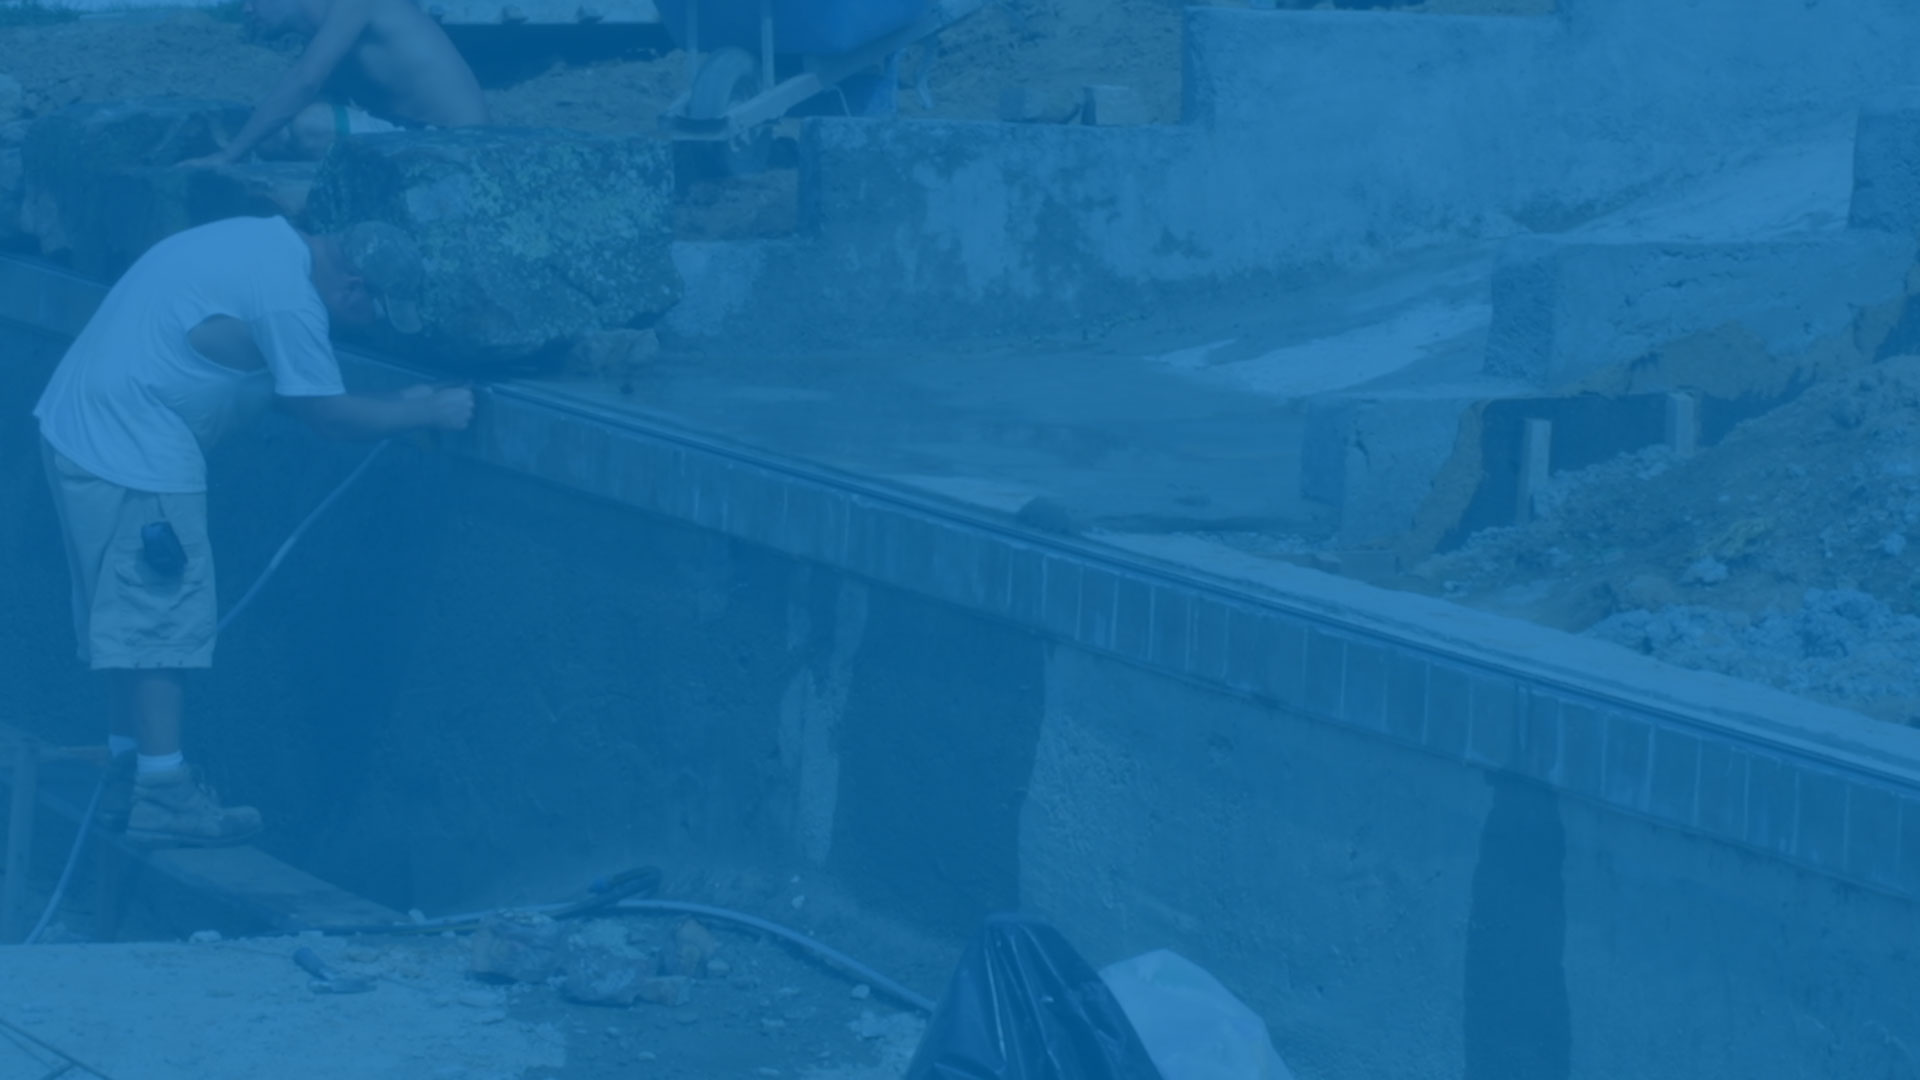
The tile is installed along what will be the waterline of the interior of the pool. Tiles are available in a wide variety of colors and designs.
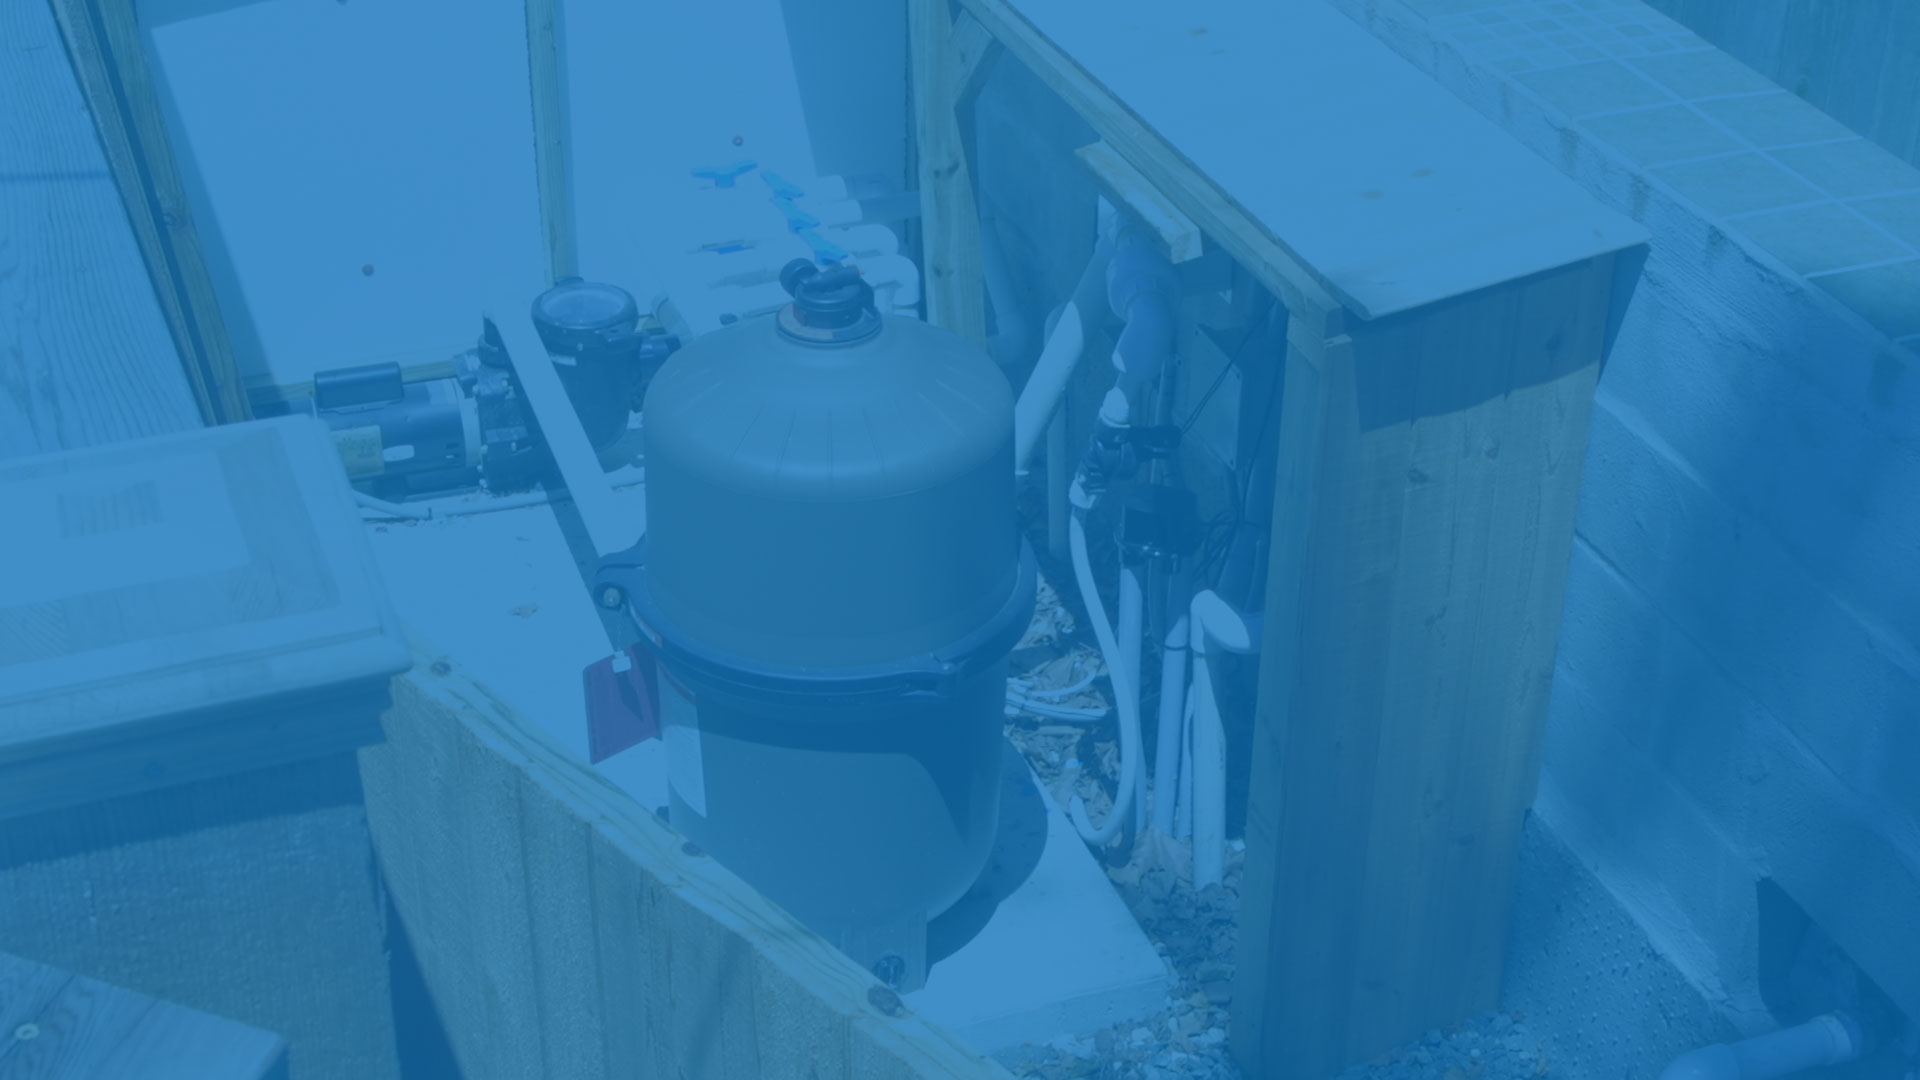
Licensed electricians hook into your main electric service and connect your filtration and lighting systems. This stage requires four additional inspections.
If your pool has a gas-fueled heater, a gas line will be installed from your gas meter. All gas lines are installed by trained, qualified technicians.
The decking that surrounds your pool can be concrete, brick stone, grass or many other materials. This is the final stage before the pool shell finish is applied.
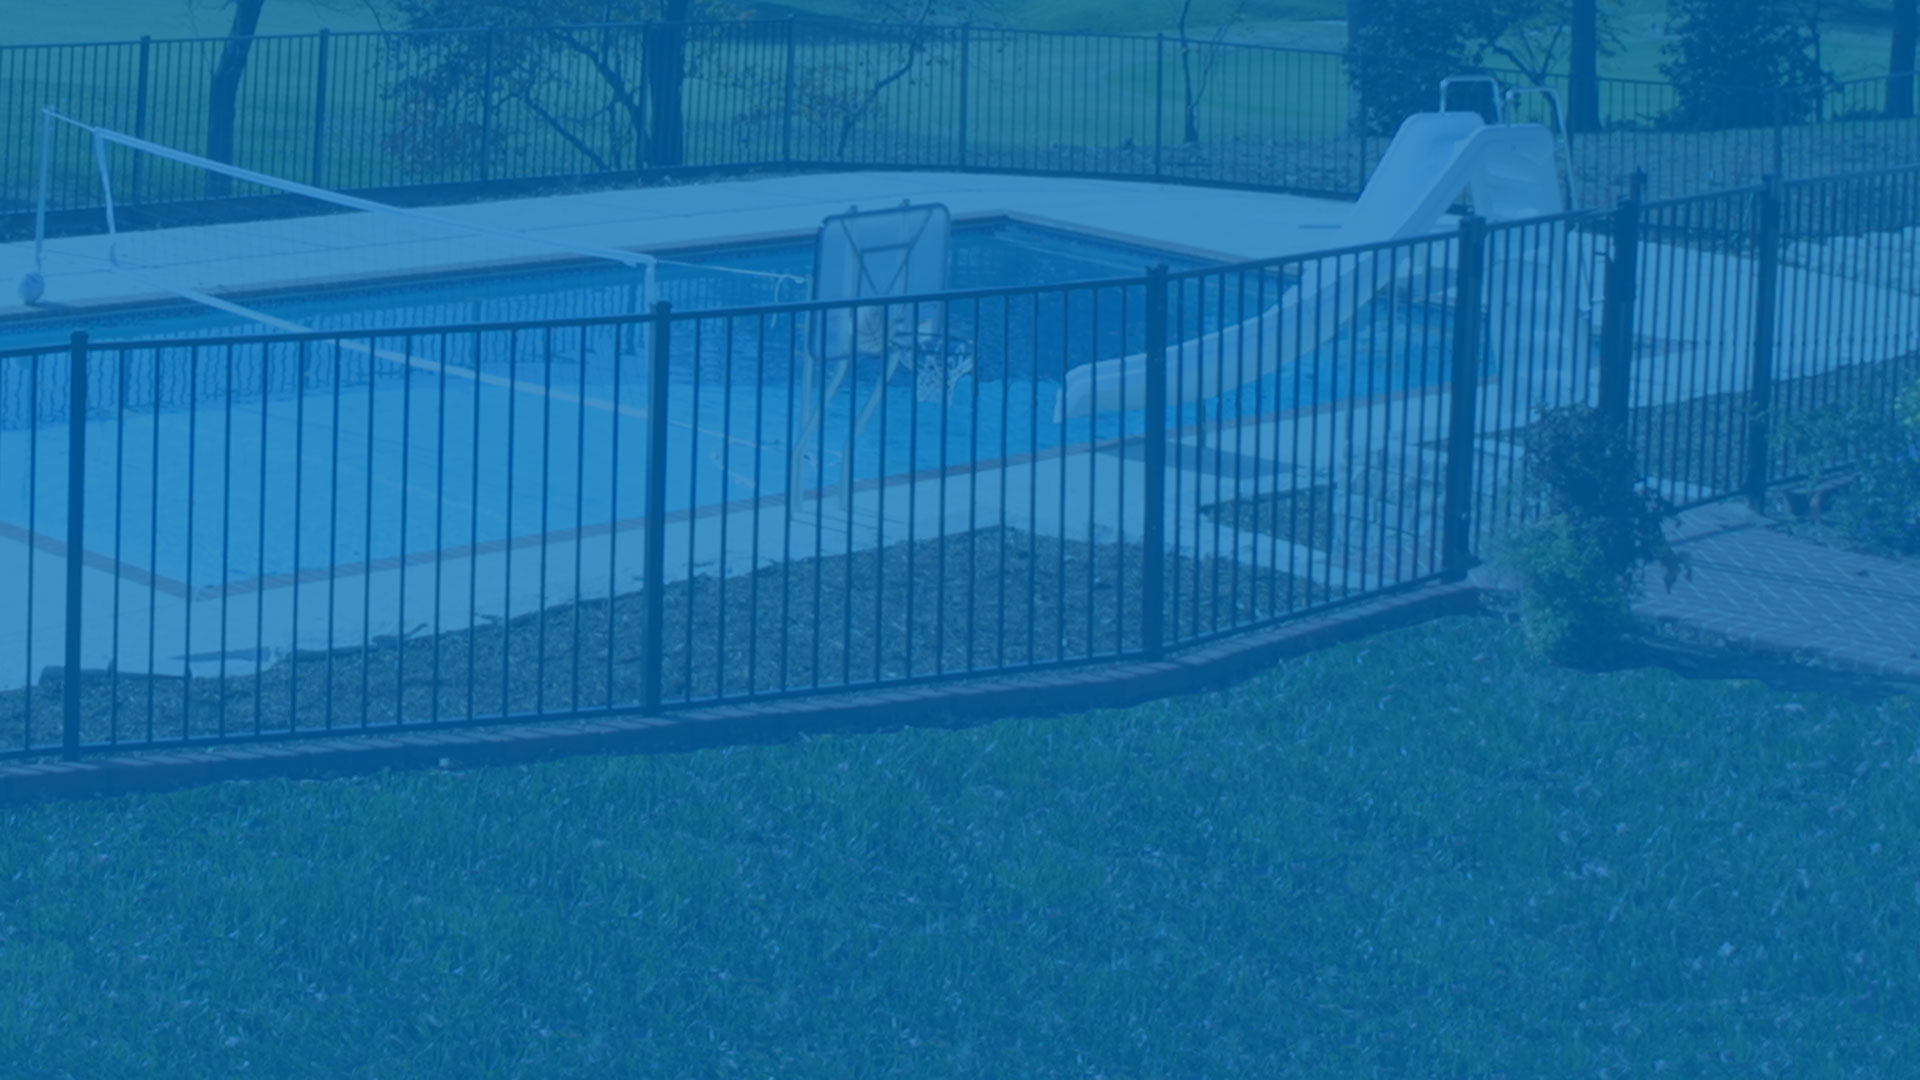
Most communities require you to provide a fence and latched gate around your new pool. We will help to familiarize you with the local requirements. Before we proceed, your fencing will have to be completed and inspected by local authorities.

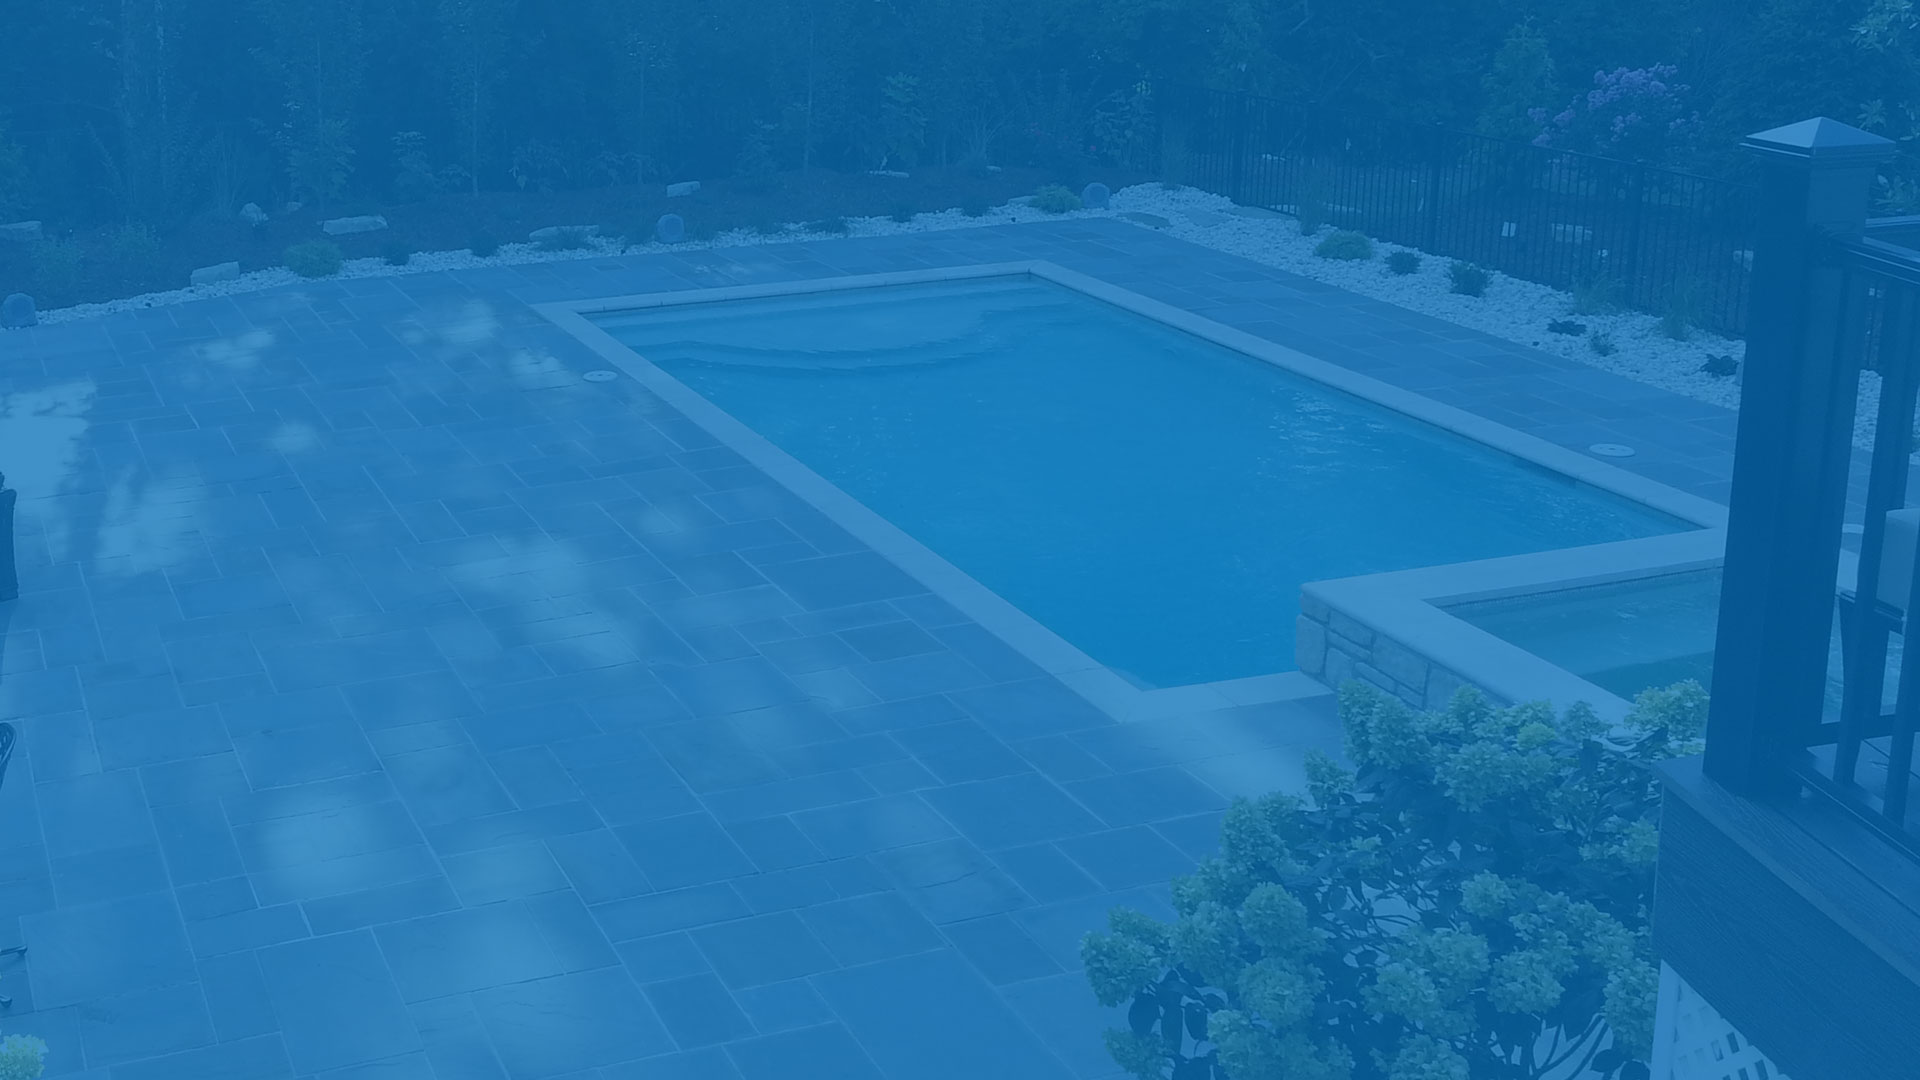
Our crews will now cover the surface of the pool with a durable, waterproof finish that seals it and provides a beautiful finishing touch. A white plaster finish is the traditional choice of pool finish, but a PebbleTec finish (shown) can offer many more color choices.
Water from your garden hose or other source will be used to fill your pool. Once filled, we will come to your home to start up the equipment wand show you exactly how the equipment works and what chemicals are needed. This is the time we show you how to maintain your pool.
Get out the floaties and snorkels. It’s time to enjoy!